Happy Earth Day Word Art Tutorial

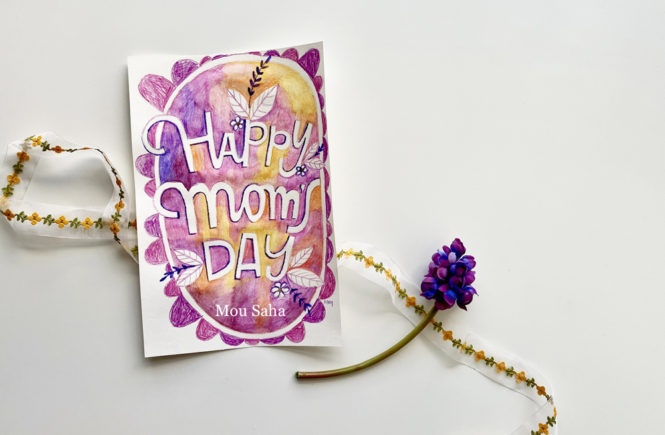
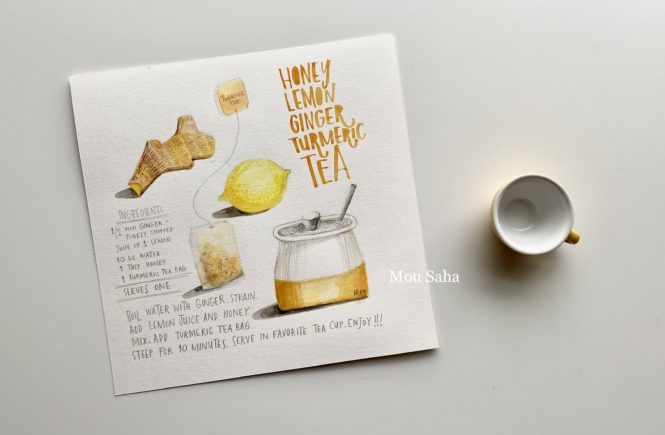
Hi all, Happy Earth Day! Here’s a word art tutorial with some embellished hand-lettering with the following supplies.

Materials list (with Affiliate links):

Grip 2001 Graphite Pencil

Kneadable Art Eraser

Pitt Artist Pen® Extra Superfine – #199 Black

Goldfaber Color Pencils

Mixed Media paper, cut to 9 x 6 inches 

Ruler 

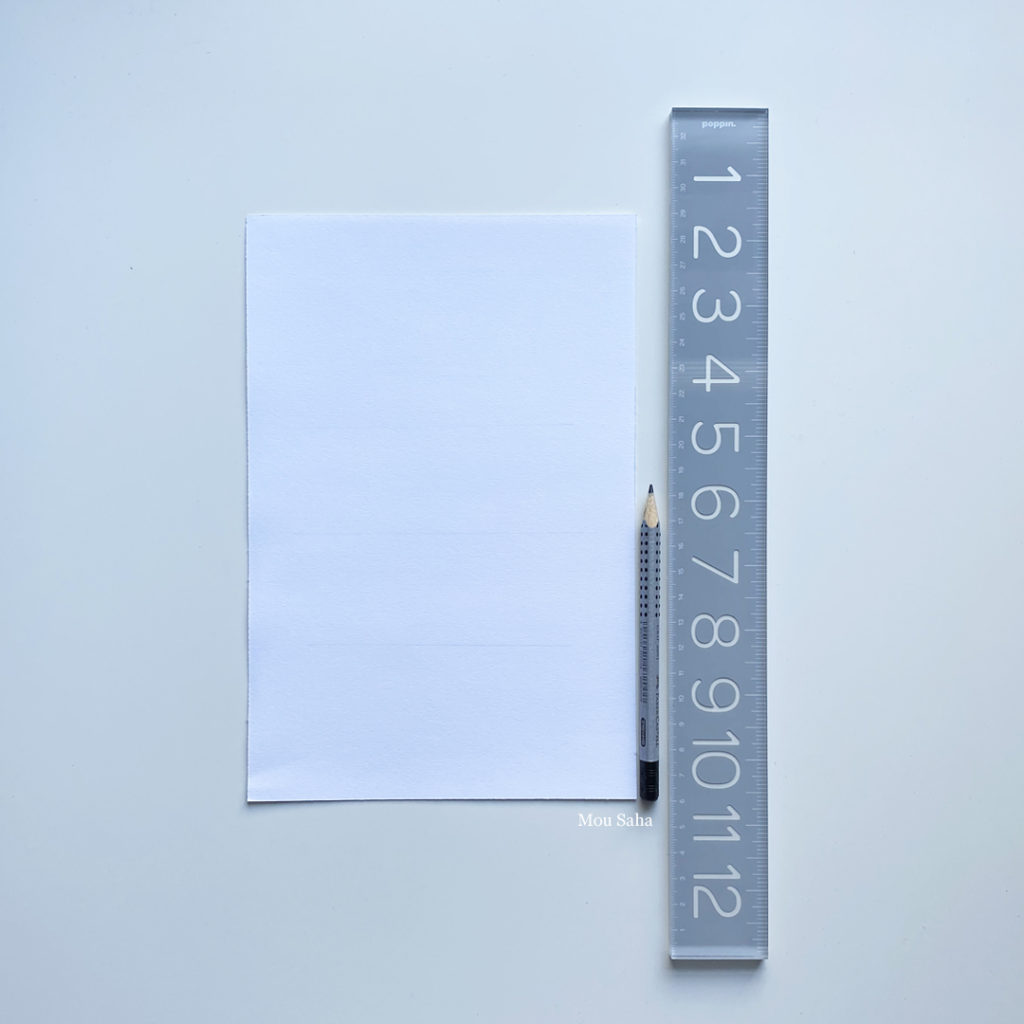
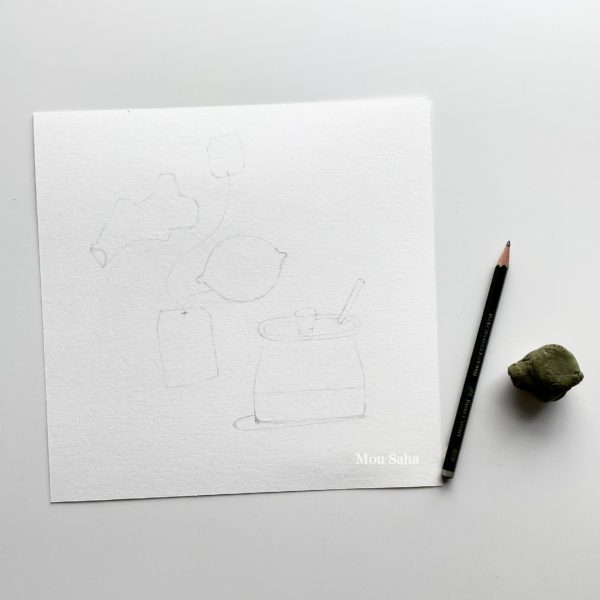
Start by drawing three light straight lines using a pencil and ruler at about the middle of the paper. These will be the base lines for the handlettered words. 

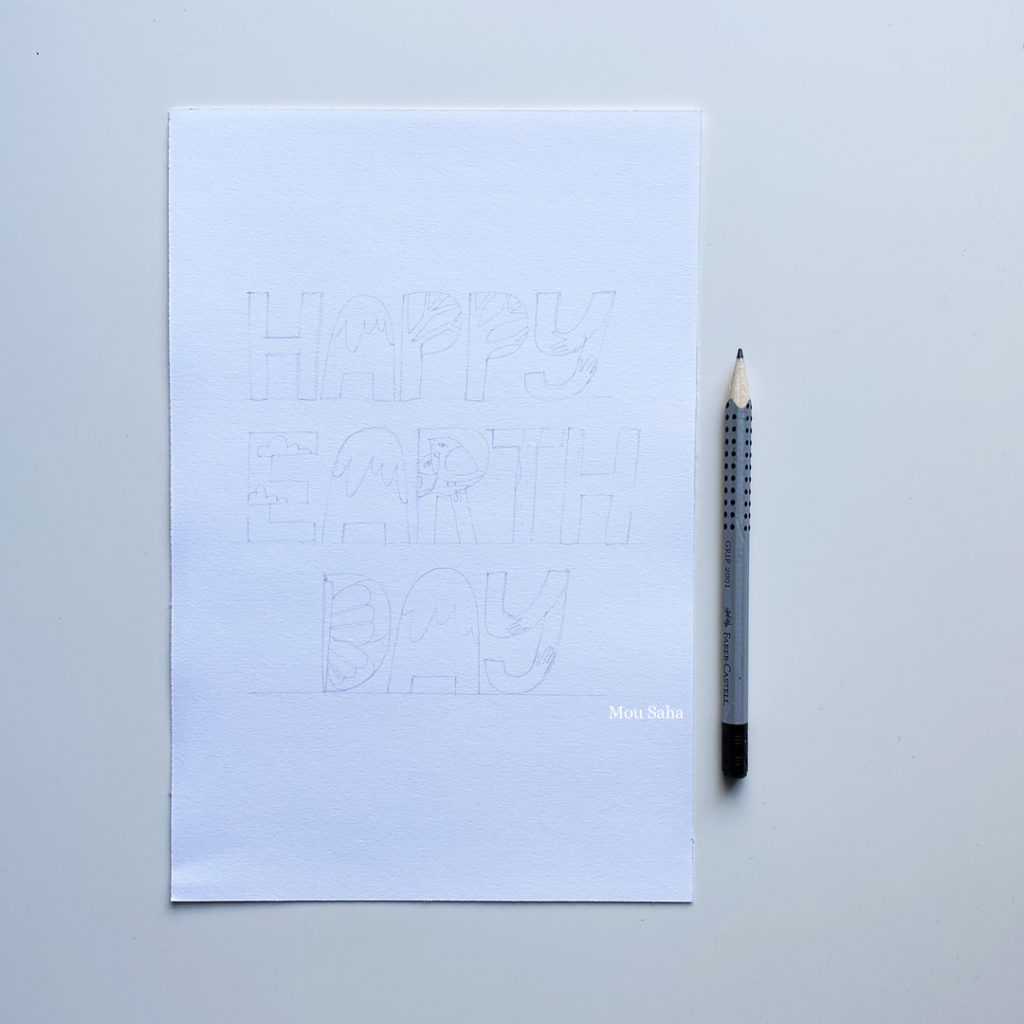
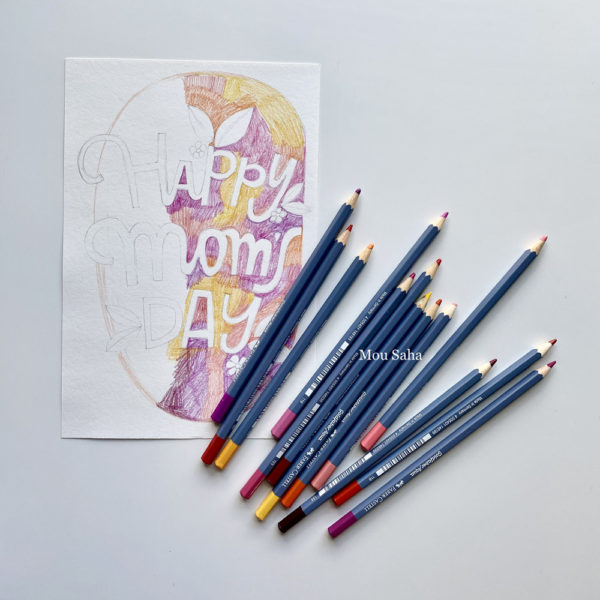
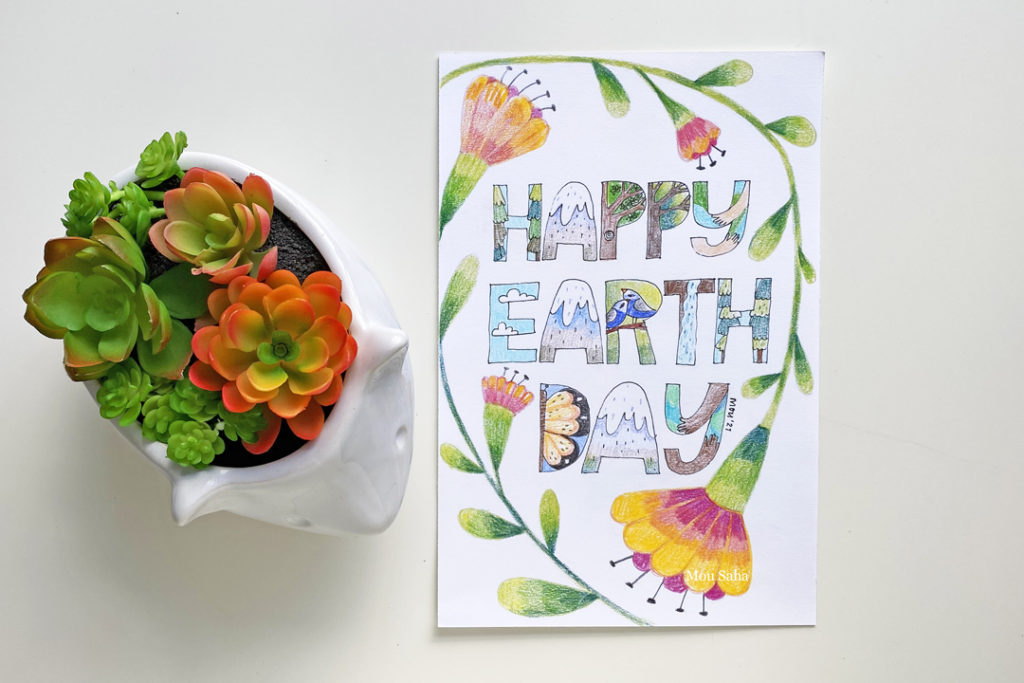
Spell out Happy Earth Day in block letters with pencil. Fill in the block letters with earth-themed images like trees, birds, mountains, clouds, etc. 

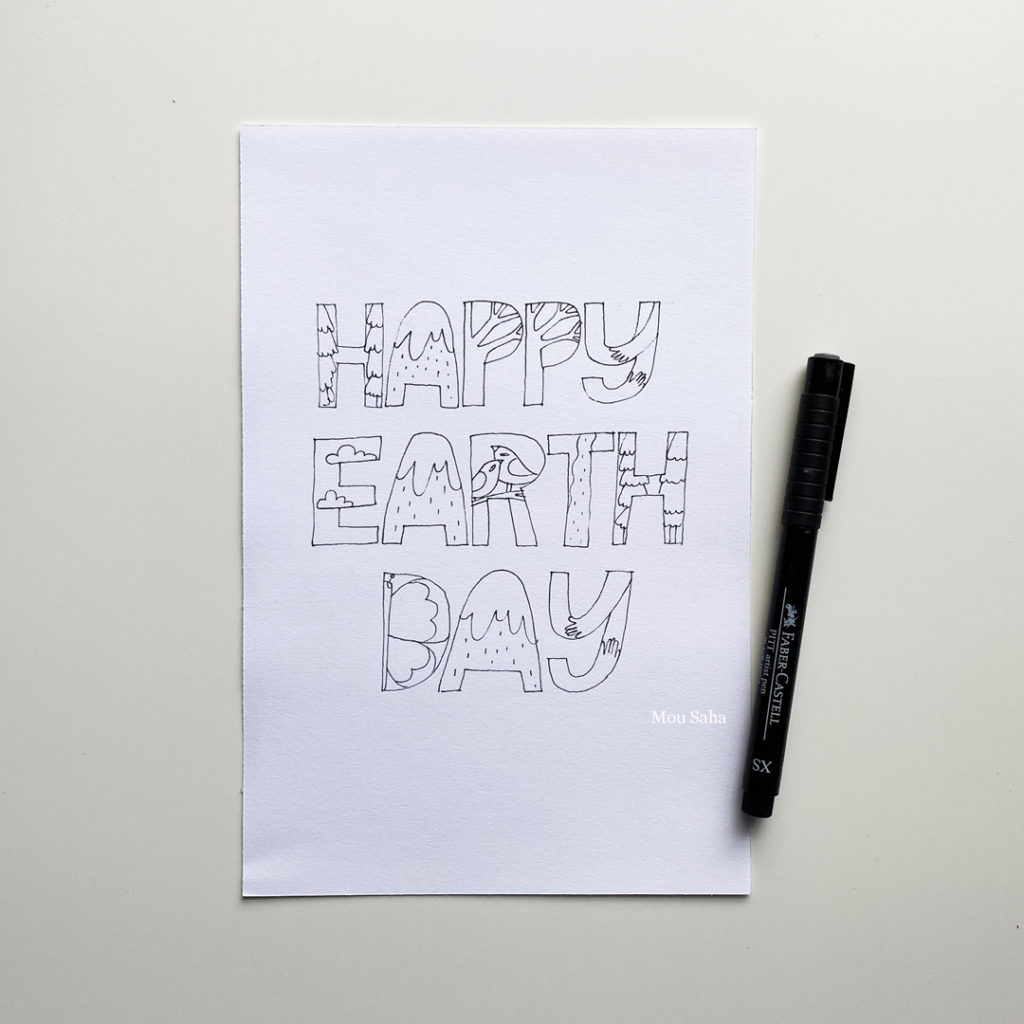
Trace the pencil lines with PITT Pen Black Extrasuperfine tip. Gently erase pencil lines. 

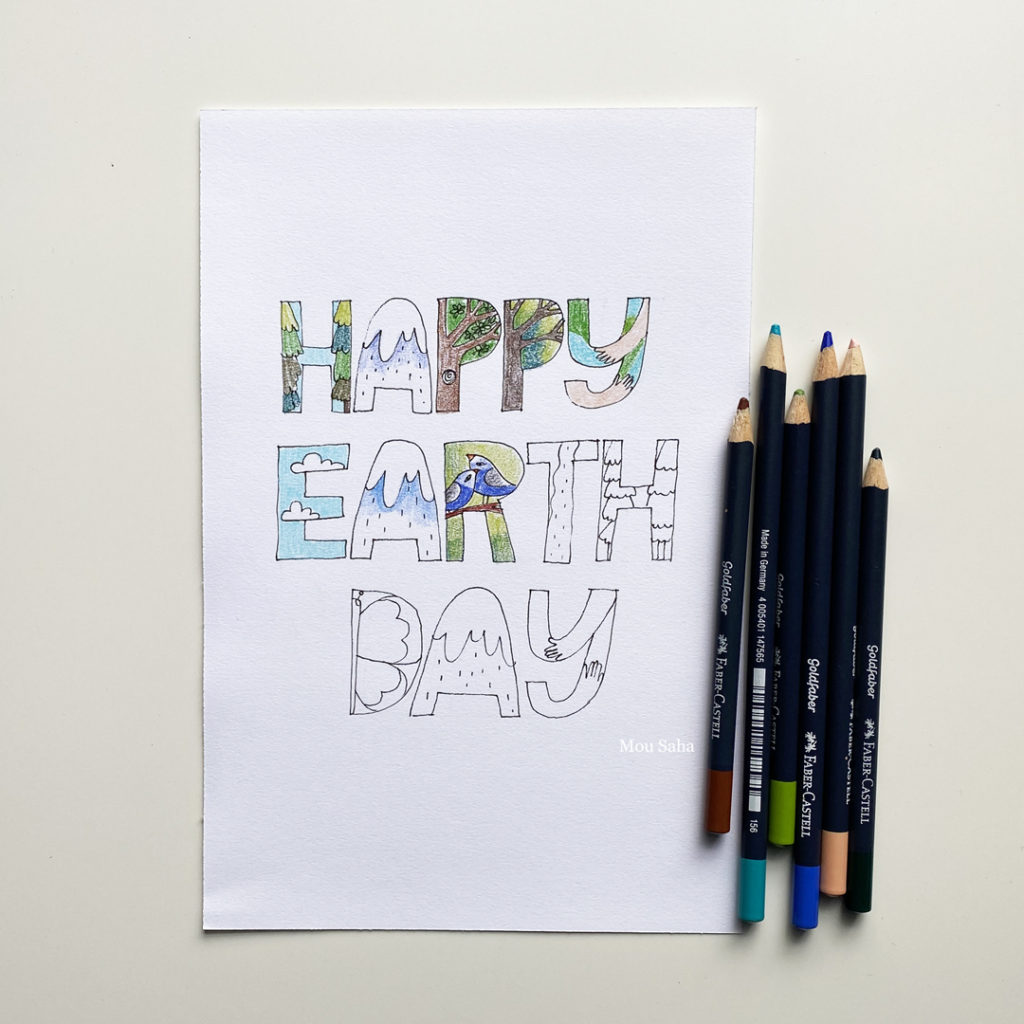
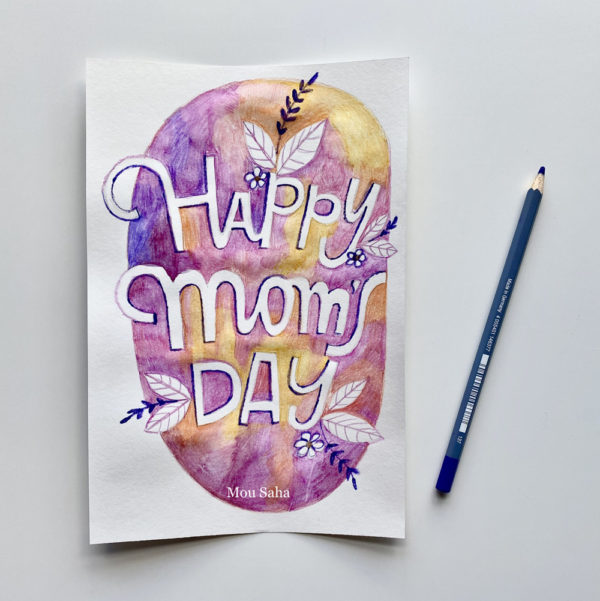
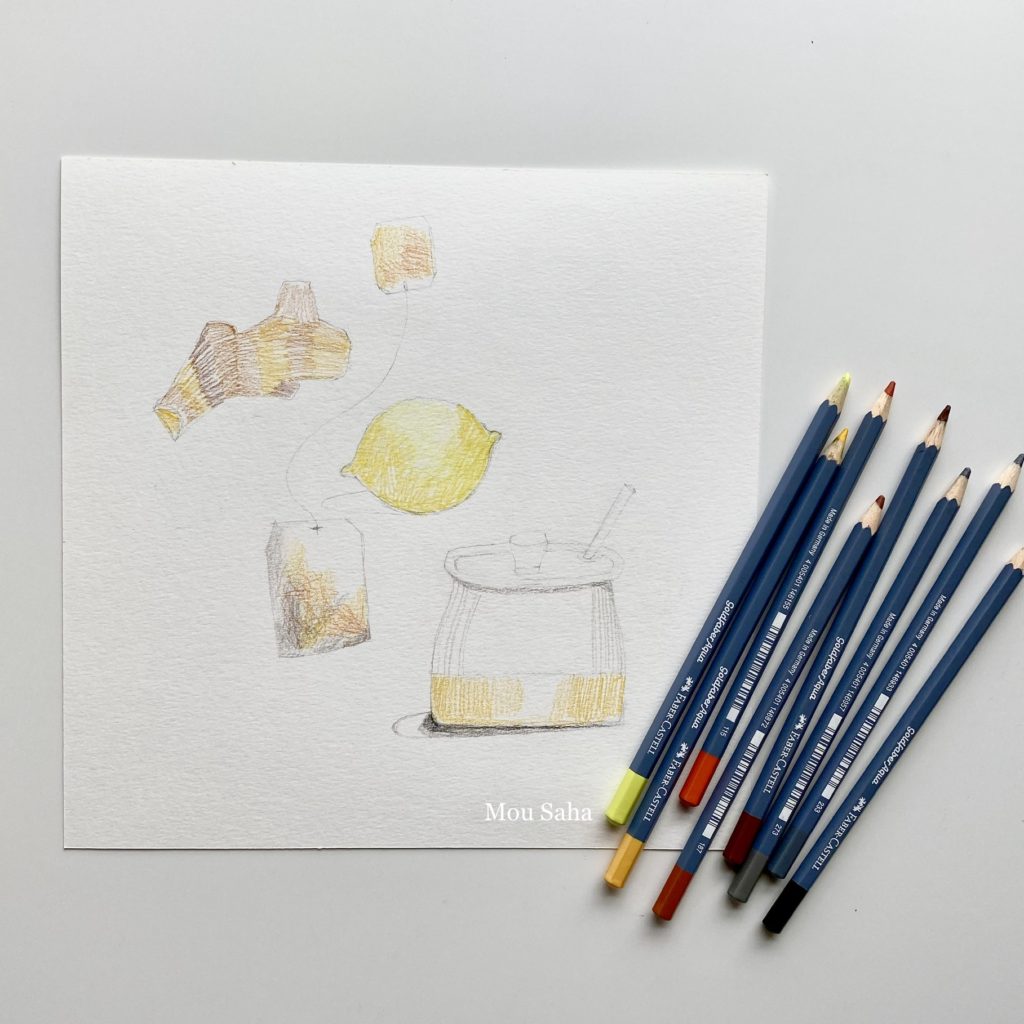
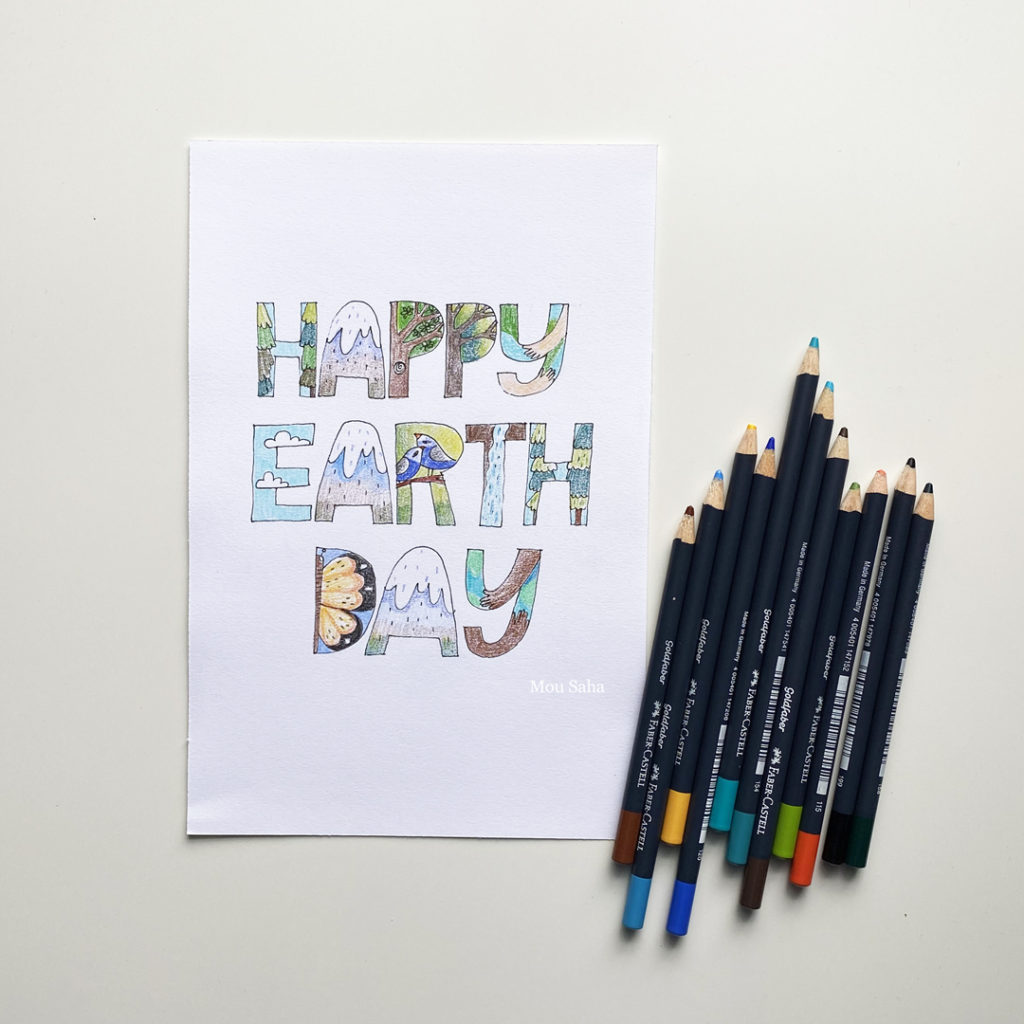
Start adding colors to the images in the letters with color pencils. Be as colorful as you like. 

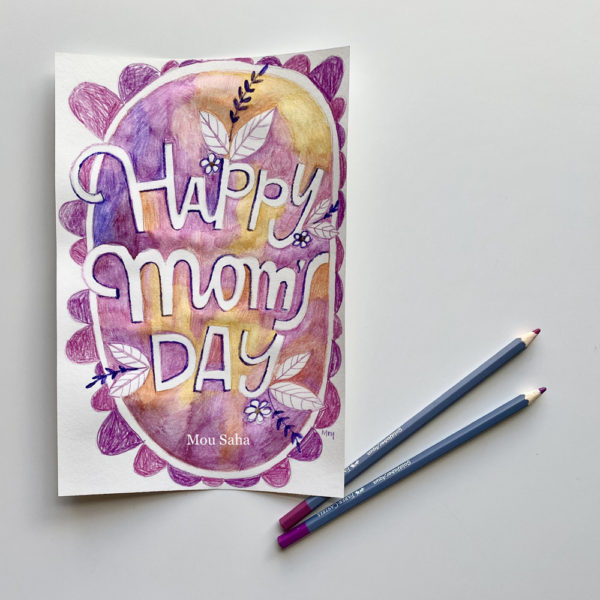
Sketch a simple floral frame around the words with pencil. 

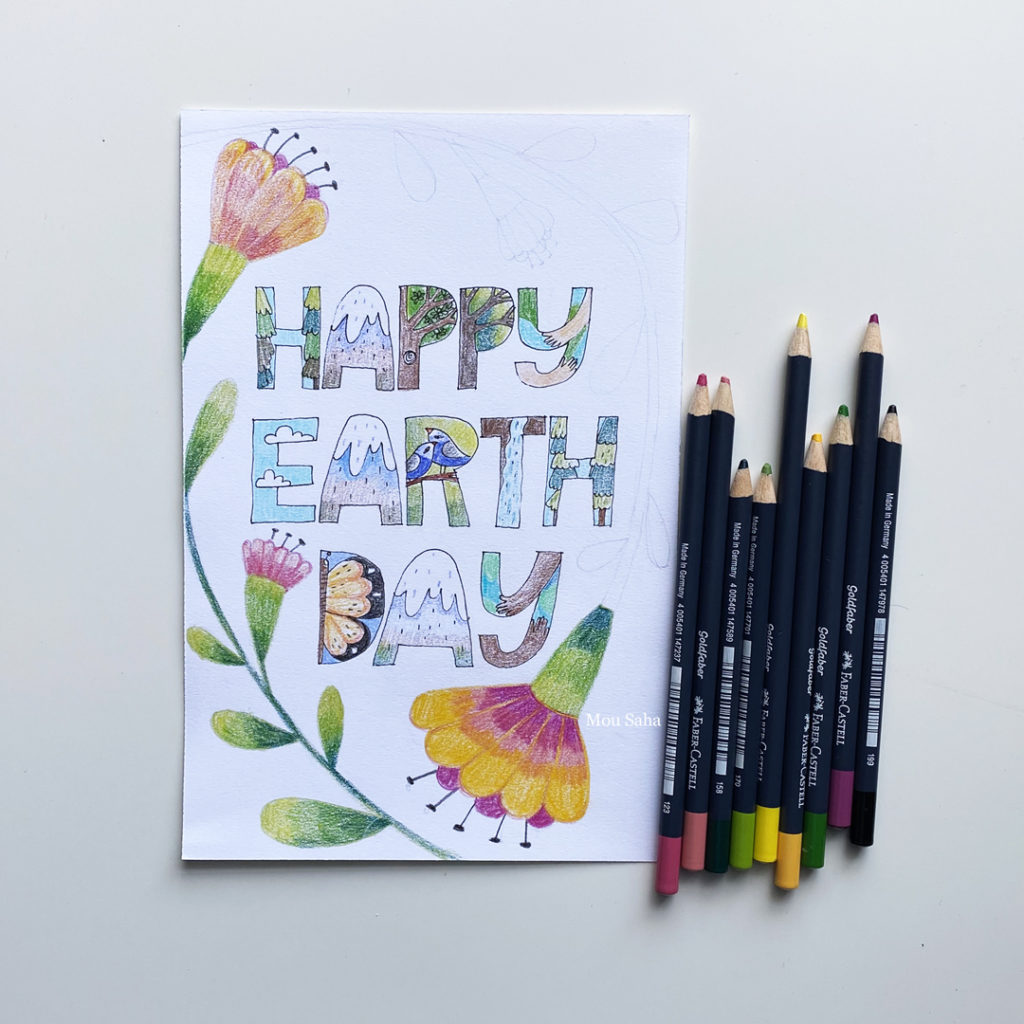
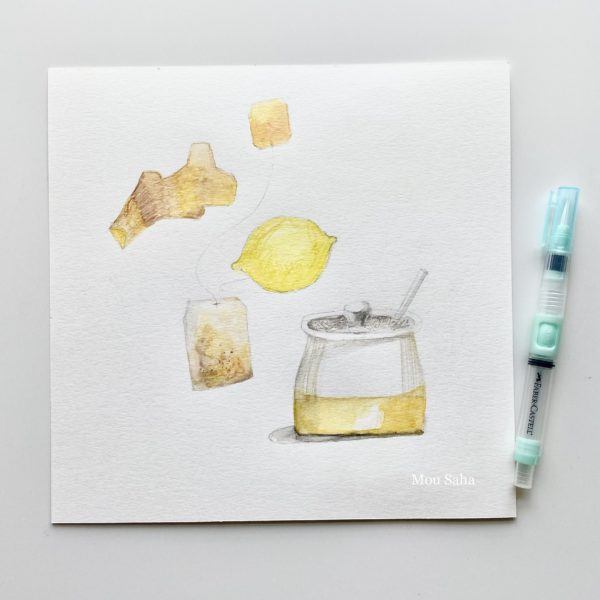
Color the floral frame with color pencils to finish 

I hope you enjoyed today’s tutorial and hope you have a Happy Earth Day! 

Continue Reading

Watch for FREE through January 2021

To celebrate their 5th Anniversary of Daily Practice workshops, Creativebug is offering FREE classes for you to watch throughout January!

Here are my classes that you can watch:

Gratitude Art Journal: A Daily Practice
Daily Observations: Drawing Objects from Life
Daily Mixed Media Challenge

Enjoy!

Continue Reading

Happy Mother’s Day

Here’s a word art tutorial to celebrate moms everywhere.

I have made a complete materials list (with some affiliate links) for you.

Materials:

·       Castell® 9000 Graphite Pencil Design Set – Tin of 12

·       Goldfaber Aqua Watercolor Pencils – Tin of 48

·       Kneadable Art Eraser

·       Deluxe Water Brush

Start with a light pencil sketch of how you want the words on watercolor paper.

Color around the letters with Watercolor Pencils.

Blend the colors with a deluxe water brush.

Add details to the drawing with Watercolor Pencils.

Add a scalloped frame to the drawing as shown.

I hope you enjoyed today’s tutorial as much as I enjoyed creating it. Stay well and stay creative and Happy Mother’s Day!

Continue Reading

‘A Leisurely Tea’ Illustrated Recipe

While the quarantine has put some restrictions, it has also opened up some blessings – the time flexibility, for instance, to make an elaborate, almost ceremonial tea for mt myself every morning! The recipe is very simple but it certainly is a soul soother amidst all the home schooling.

I have made a complete materials list (with some affiliate links) for you.

Materials:

·       Castell® 9000 Graphite Pencil Design Set – Tin of 12 – #119064

·       Goldfaber Aqua Watercolor Pencils – Tin of 48 – #114648

·       Goldfaber Color Pencils – Tin of 48 – #214748

·       Kneadable Art Eraser – Assorted Colors – #127321

·       Deluxe Water Brush – #770306

·       Creativity for Kids Connector Watercolor Set

Let’s start by looking at the ingredients.

Start with a light sketch of the ingredients using the Castell 9000 pencil 2B on watercolor paper. Nothing needs to be an exact copy of the actual object. It’s more fun to draw them in your own style.

Start coloring the elements with the Goldfaber Aqua Watercolor Pencils.

Blend the colors with a deluxe water brush.

TIP: This water brush is particularly helpful because there’s no spill risk when you are sharing table space with others as I am right now.

Dip your waterbrush in the Connector Paint of your choice and brush letter your recipe title.  

Once the colors are all dry, write the ingredient list and the recipe itself with a Goldfaber Color pencil to finish.

I hope you enjoyed today’s tutorial as much as I enjoyed creating it. Stay well and stay creative!

Continue Reading

1 Creative New Year Resolution + 5 Motivators to KEEP it!

Supplies –

The feeling of a fresh start at the beginning of a new year has us making resolutions to make changes in our lives for the better – be it giving up a habit that’s keeping us from our desired goal or building one that nudges us in the right direction little by little.

One of my resolutions this year is to use more of what I already have.

I am approaching it by going through my art supplies, sorting them in categories and taking inventory.

It’s a mixed feeling – excitement when I find something I had completely forgotten about and guilt that I had not yet used it even once so far.

I am doing this one box a day and I am seriously surprised to see that so much of the bulk I had been holding on to is just empty packaging that I simply never took a little time to discard!!!
Yes, the recycle bin has been packed with my flattened boxes the last couple of weeks.

And I am breathing happy in the space that this has opened up and beaming at the new possibilities!

To make my resolution fun to stick to (because we all know that I’ll not do it if it gets boring!), I have connected it with my hand-lettering practice as you can see in the image above.

This way I am –

  • Improving my hand-lettering
  • Getting organized
  • Saving time and sanity by not having to rummage through everything for forever to find ONE thing!
  • Spending wisely by not buying duplicates of what I already have so I can get new things when I want
  • Finding bliss in knowing I am using and enjoying what I have – this feeling is PRICELESS, I tell ya!

Please share your 2019 resolutions and any tips on keeping them throughout the year! You can do so by leaving me a comment to this post.

On a completely different note…
Life Book  extended its Early Bird Discount code till January 14thYou can still save 20% with code LOVEBOMB2019.
Joining a year-long self-paced art course, like Life Book or Wanderlust, sure would be a FUN way to use up some of your art supplies this year, don’t you think?

Because, let’s face it, getting more art supplies IS NOT THE SAME AS making more art.

Continue Reading

How to Create an Art Journal Page from Coloring Book

Continue Reading

Video Tutorial: Art Journaling with Coloring Pages

Did you know?

  • That you don’t always have to color within the lines on a coloring book page?

  • That you can use your coloring book pages in your art journals?

  • That you can print them in reduced sizes to fit your page needs?

I have included several such ideas and step-by-step instructions in my newest printable coloring book Farm Fresh.

And here’s a video tutorial to show you what I am talking about.

I hope you enjoy!

Continue Reading

Introducing My New Coloring Book FARM FRESH!

This is an exciting Cinco de Mayo for me! Today I’m launching my second coloring book Farm Fresh: Printable Coloring Book of Produce from A-Z with 14 Bonus Pages of Ideas & Extras! 

The launch weekend (5/5-5/7) price for this 40-page coloring book is $18.00 + tax. Take advantage of this introductory price now, for come 5/8, the price will go up to the original $22.00 + tax.

I’ll email you the printable PDF within 24 hours of purchase. No shipping fee, no waiting for the mail.

Here are all the details.

“Farm Fresh”, a printable coloring book of produce from A-Z, is a fresh collection of 28 hand-drawn produce straight from the grower and and simple recipes to enjoy them. It includes a bonus section to show you how to color each produce, so you are not stuck when it comes to coloring the lesser known fruits and vegetables. Plus, there are ideas and inspiration along with step-by-step instructions to take your coloring pages beyond the coloring book to your art journals.

Want a sneak peek? Watch me color a page from this book on Creativebug Live!

Has it ever happened to you that you arranged and re-arranged your busy schedule to make a little bit of precious time to create, but when you actually sat down, you drew a blank? You felt blocked! Before you click away to look for inspiration on Pinterest or Instagram and lose yourself in that rabbit hole, TRY THIS:
Color for 10 minutes as focused creative warm-up to get into your creative groove.

Or, maybe when the stresses of the day weigh you down and you need to unwind… coloring is an almost meditative way to relax and find your center again.

You can print and reprint as many times as you want! You could print in various sizes too.

You would normally pay anywhere between $1.67 and $5 for a SINGLE printable coloring page on Etsy after scrolling for hours to find one you really like.

My goal is to make this easy and affordable for you.

** This is a digital product that will be emailed to you. No physical product will be shipped.
**NO REFUNDS on this product.
** Copyright © 2017 Mou Saha. All rights reserved.

You can print these drawings only for personal, non-commercial use. Restrictions include but are: not limited to the following: you cannot resale these drawings, sell them as finished paintings or any art derived from them, submit for publication, teach classes using them, copy and/or distribute them in any form without my written permission.

You can buy the book here.

Save

Save

Continue Reading

Art on the go

I always take a few art supplies with me when I travel. Just a sketchbook, a few color pencils, a black pen, some sort of watercolor paints and a brush or two. I look for little pockets of time to draw or color something. Nothing elaborate, just a quick sketch of what’s in front of me or something I saw, snippets from magazines or a photo I took because it’s not always possible to sit down on the spot to draw. And some brush lettering. Here are a couple of quick watercolors from the cruise.

On the second night of our cruise, we sat down to figure out what shore excursions we could go on. That task usually is not easy because we have different interests. None of the kids are old enough to go on any excursion by themselves. Jia is too young for most things. If I could help it, I would just pitch an umbrella and sit with my sketchbook but that is not doable at the moment. So, we divide and rule. Ashis takes one, I take the other two. He keeps the younger two, while I take the oldest shopping and so on. Plus, Nini is getting into photography and we go on photo walks together.

Everything in Nassau was heavenly! This was my second time to the Bahamas. Nini went snorkeling with Ashis. We all went on the glass bottom boat to the reef and saw colorful fishes. We took in sights all around us on this sunny day on the island surrounded by turquoise waters. I loved this lighthouse. We shopped for jewelry. When we came back to the boat, we took quick showers, had some snacks and I settled down to paint the lighthouse before the daylight died down.

Continue Reading