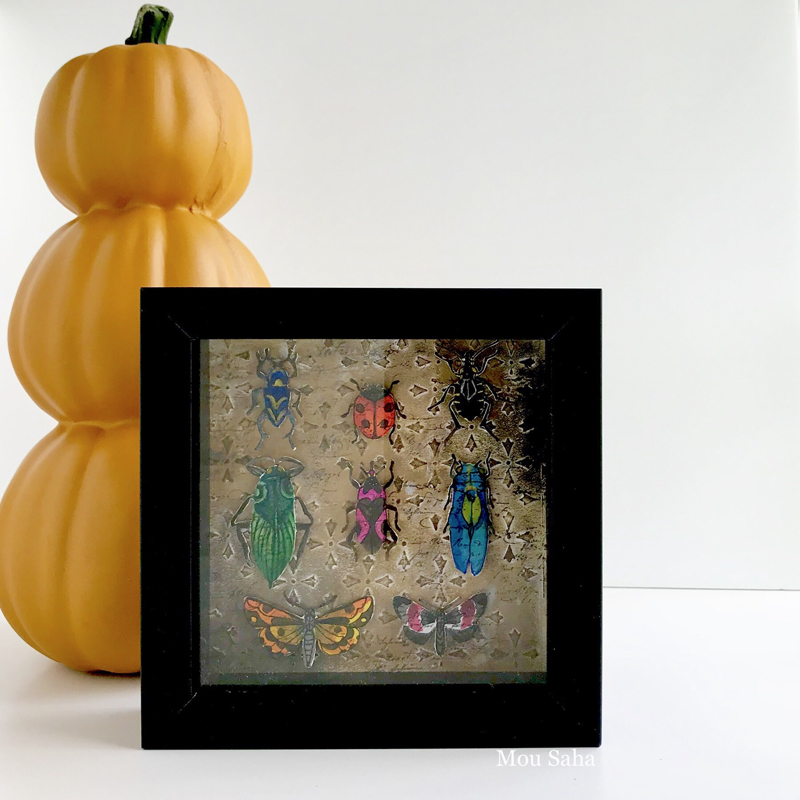
Welcome to Day 3 of my Fall Decor Blog Series! Today I have a tutorial for a DIY Entomology Specimen Display or to put simply, a bug box.
Now, if you are not fond of creepy crawly bugs, let me just tell you that neither am I. So, instead of painting realistic looking insects, I decided to give my bugs a flare of fantasy with bright colors and made-up patterns. Let me show you how. You can also use the stamp set that matches the Sizzix Framelits Die Set 14PK – Entomology.
Supplies (Affiliate links):
-
Sizzix Framelits Die Set 14PK – Entomology (Item #663068)
-
Stampers Anonymous Entomology Cling Mount Stamps (CMS 328)
-
Sizzix Thinlits Die Set 3PK – Mixed Media Halloween #2 (Item #663089)
-
Sizzix Big Shot Machine Only (White & Gray)
-
Sizzix Accessory – Cutting Pads, Standard, 1 Pair (Purple w/Silver Glitter)
-
Sizzix Accessory – Standard Magnetic Platform for Wafer-Thin Dies
-
Faber-Castell – Mix and Match Collection – Color Gelatos – Iridescents – 15 Piece Set
-
Faber-Castell – Mix and Match Collection – Color Gelatos – Steampunk – 6 Piece Set
-
Faber-Castell – Goldfaber – Aqua Watercolor Pencil – Tin of 48
-
Faber-Castell – Mix and Match Collection – Pitt Artist Pens – Journaling – 4 Piece
-
Faber-Castell – Stampers Big Brush Pen – Black
-
Faber-Castell Whipped Spackle
-
Faber-Castell – Mix and Match Collection – Gelatos Tool Set
-
Faber-Castell Collapsible Water cup with water
-
Watercolor paper
-
Gray Cardstock
-
Background Stamp
-
3D Foam Squares
-
Scissors
-
Trimmer
-
Ruler, pencil, shadow box
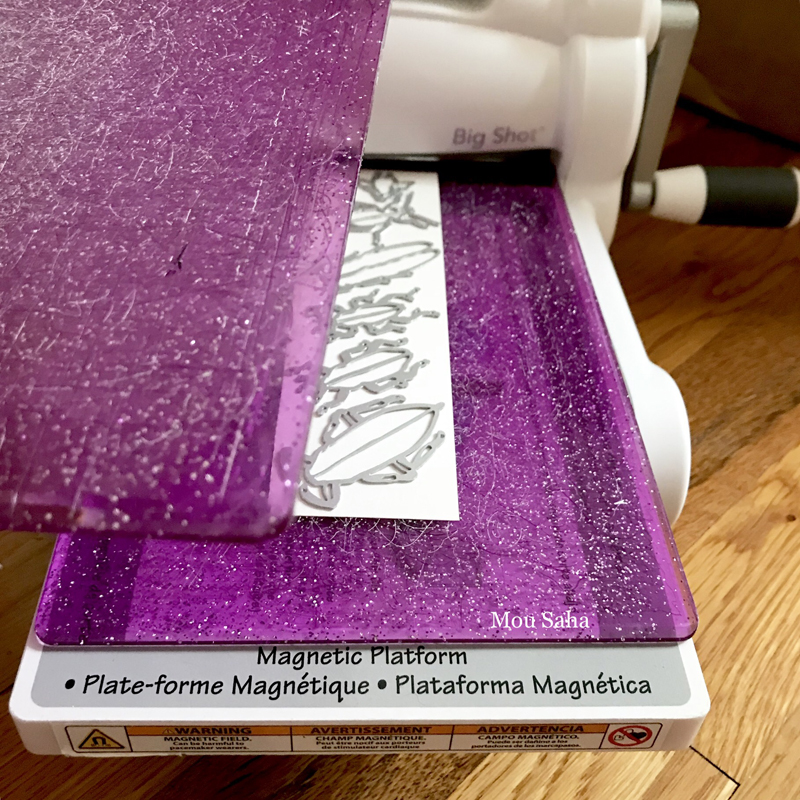
To die-cut the insects out of watercolor paper, create the following Sizzix Sandwich:
-
On Sizzix Accessory – Standard Magnetic Platform for Wafer-Thin Dies, lay another Sizzix Accessory – Cutting Pads, Standard, 1 Pair (Purple w/Silver Glitter).
-
Place watercolor paper on it. Lay the insect dies from the Sizzix Framelits Die Set 14PK – Entomology, blade side down on the paper. The strong magnets of the Standard Magnetic Platform for Wafer-Thin Dies will hold your Framelits Dies securely in place for precision cutting.
-
Place the other Standard Cutting Pad on top and start turning the handle of your Sizzix Big Shot Machine Only (White & Gray). The rollers in the Big Shot machine will propel the entire sandwich through the machine and you’ll have your die-cut pieces ready.
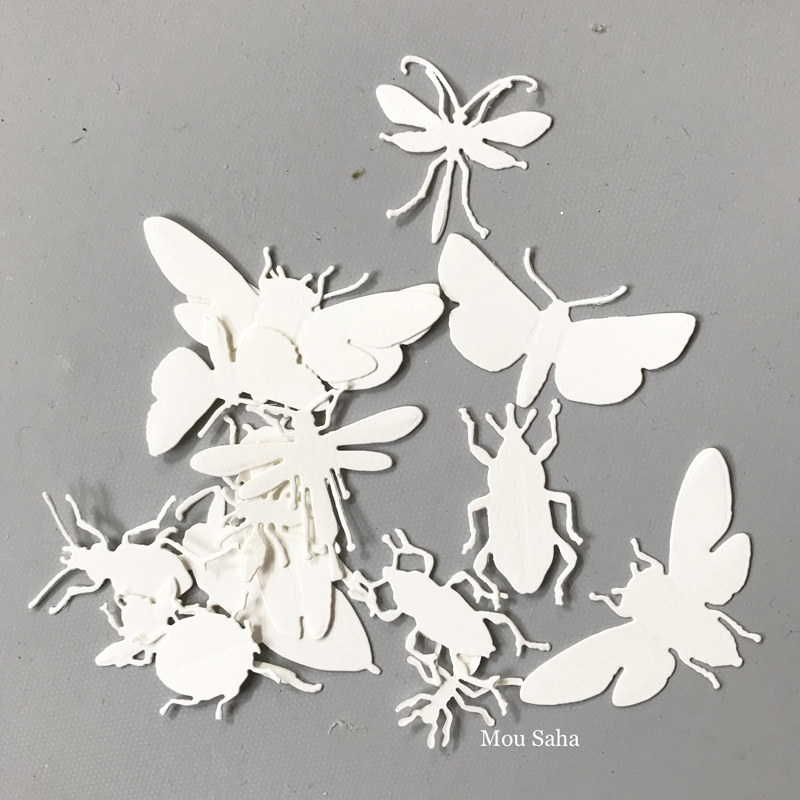
Here are all the die-cut insects. Depending on the size of your display case, you’ll need to select the ones that work best for you. I ended up using only eight of them.
TIP: If your display case is big, you might have to die-cut multiples of the same design and color them differently to look like unique specimens.
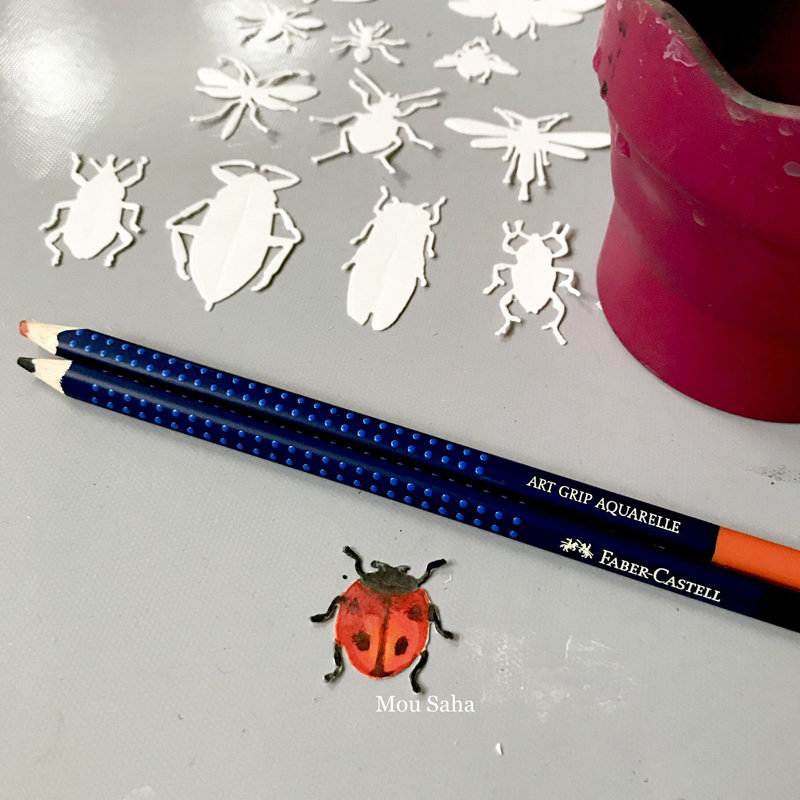
Start coloring the die-cut insects with watercolor pencils and Gelatos Iridescents. You can let reality or fantasy be your guide for this step. I leaned more towards fantasy.
NOTE: There is also a stamp set that’s available separately to work with the Sizzix Framelits Die Set 14PK – Entomology. It’s called Stampers Anonymous Entomology Cling Mount Stamps (CMS 328).

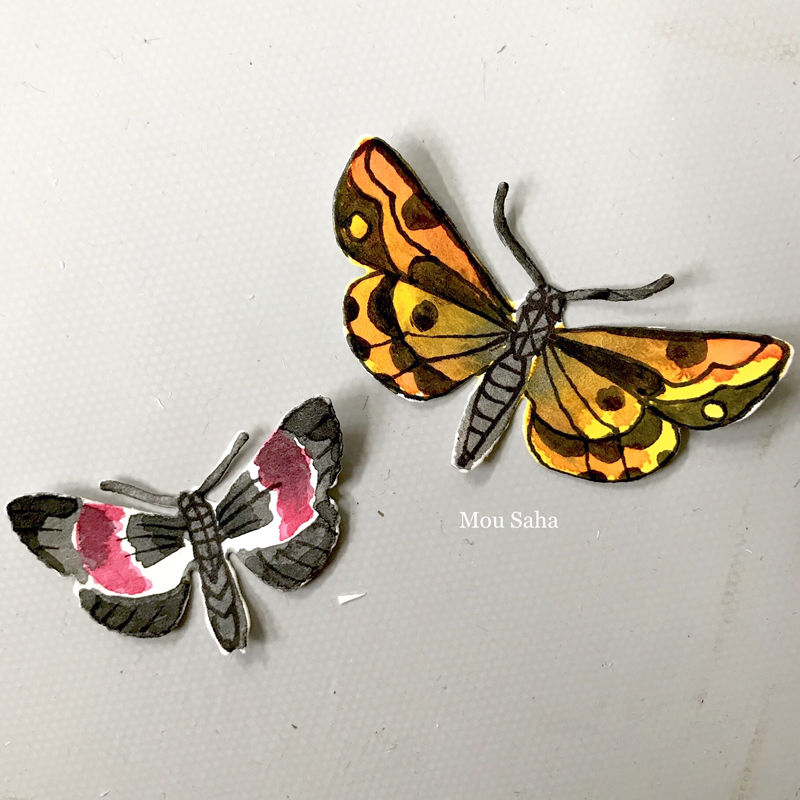
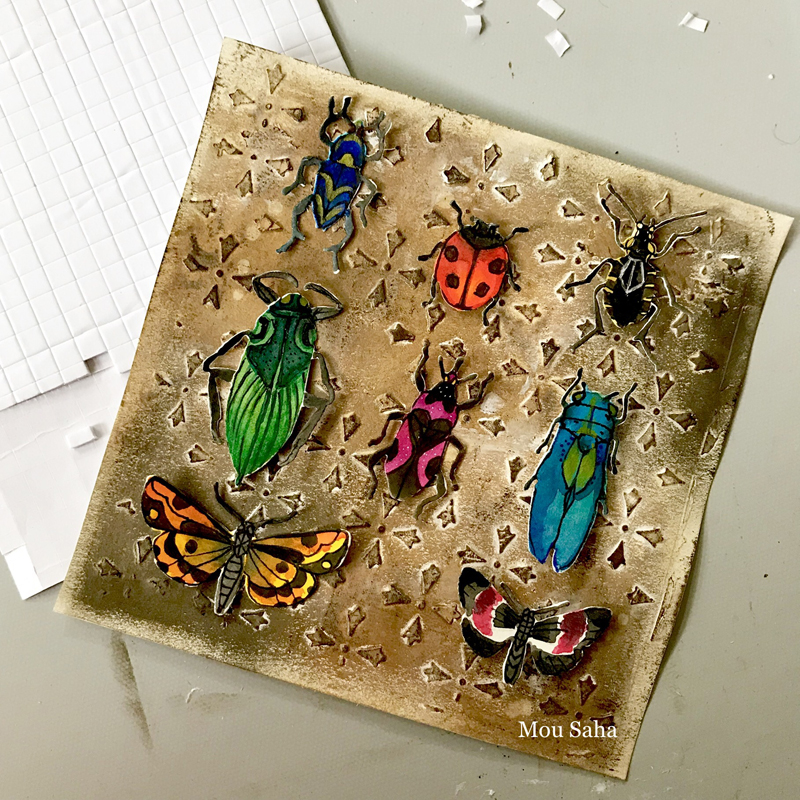
Here are my finished insects. I added some pen details once the paints dried.
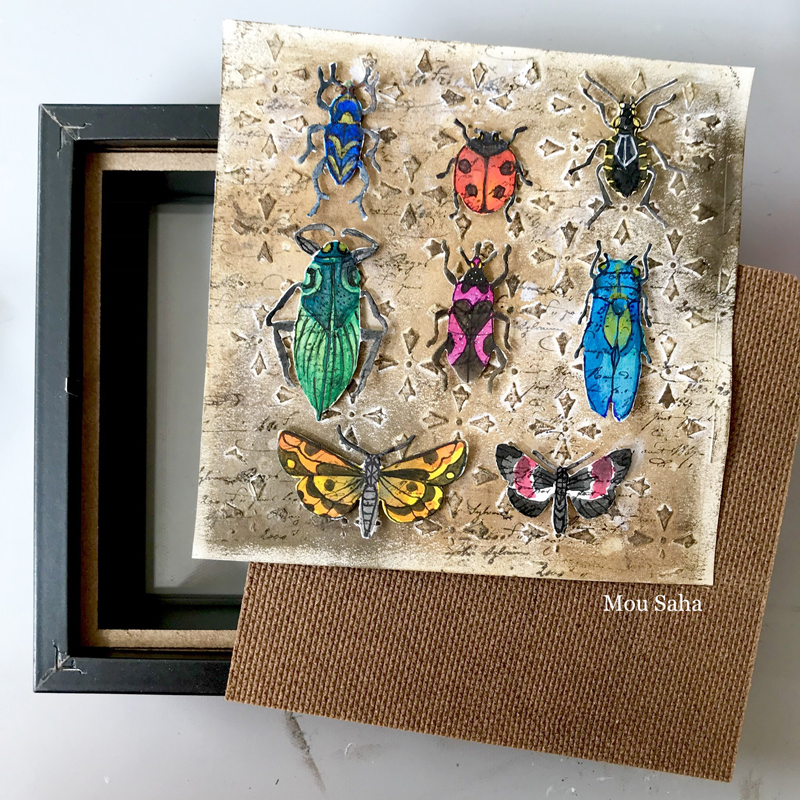
Next, create a backdrop for the insects to be mounted. For that, measure the back board of the display case and trim a piece of watercolor paper to that size. My case is 5.5 x 5.5 inches, so I trimmed my paper to that size and then drew about a quarter inch margin all around to make sure all the insects are properly visible once I put the display case back together with my decorated insert.
To create a patterned background, you could simply attach patterned paper or paint one. But I wanted one not only with patterns and colors but also with some texture. So, I decided to create a stencil with one of the dies from the Sizzix Thinlits Die Set 3PK – Mixed Media Halloween #2.
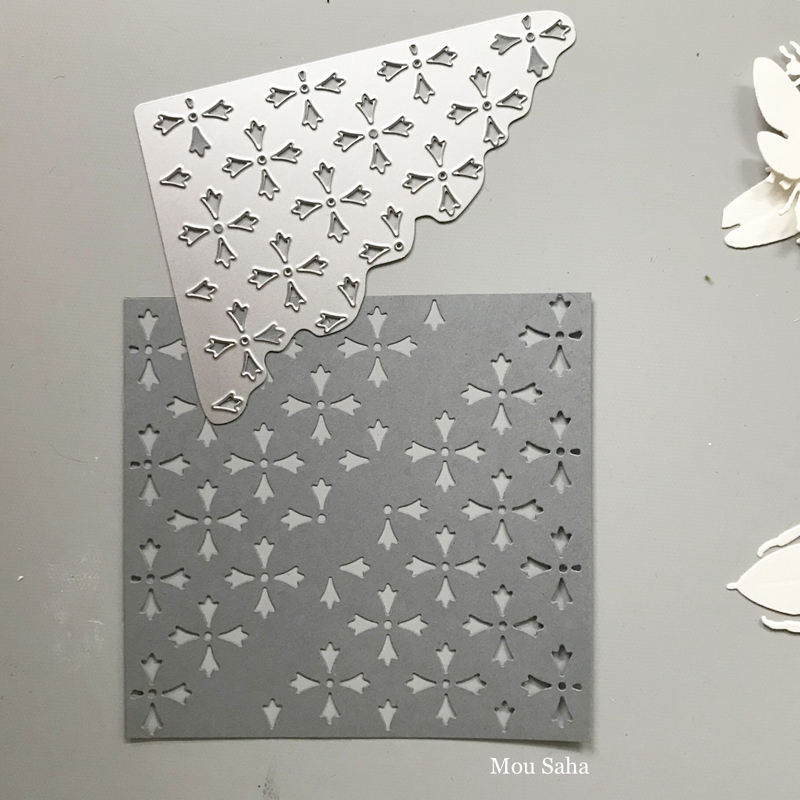
To create your own stencil, start by creating the exact same Sizzix Sandwich as above. Use a heavyweight cardstock for this. Once you make the first cut, rotate the piece of cardstock around and lay the same die blade-side down on the cardstock at a facing angle to complete a square-ish design.
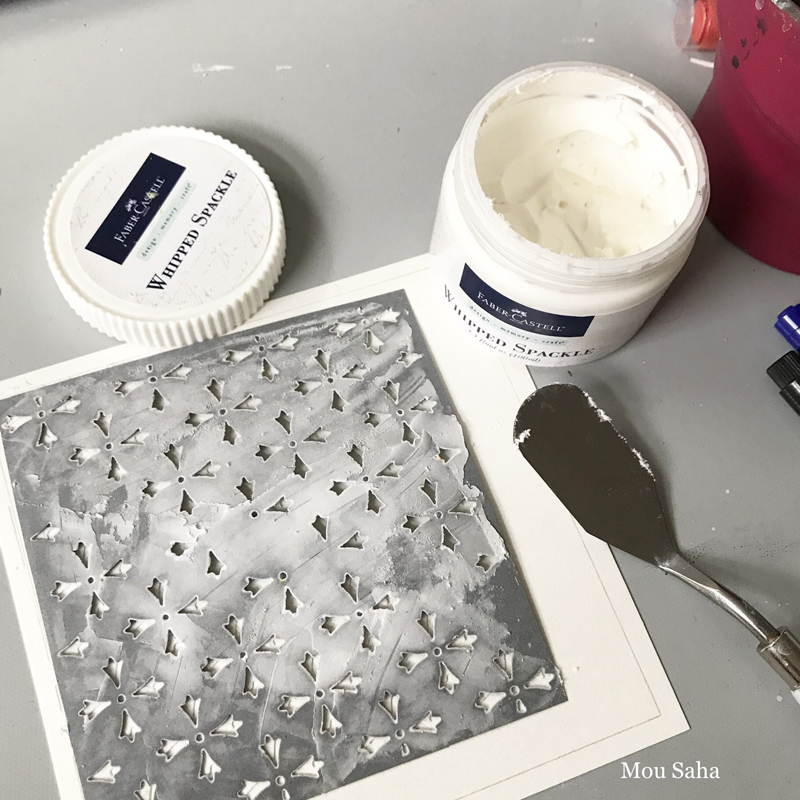
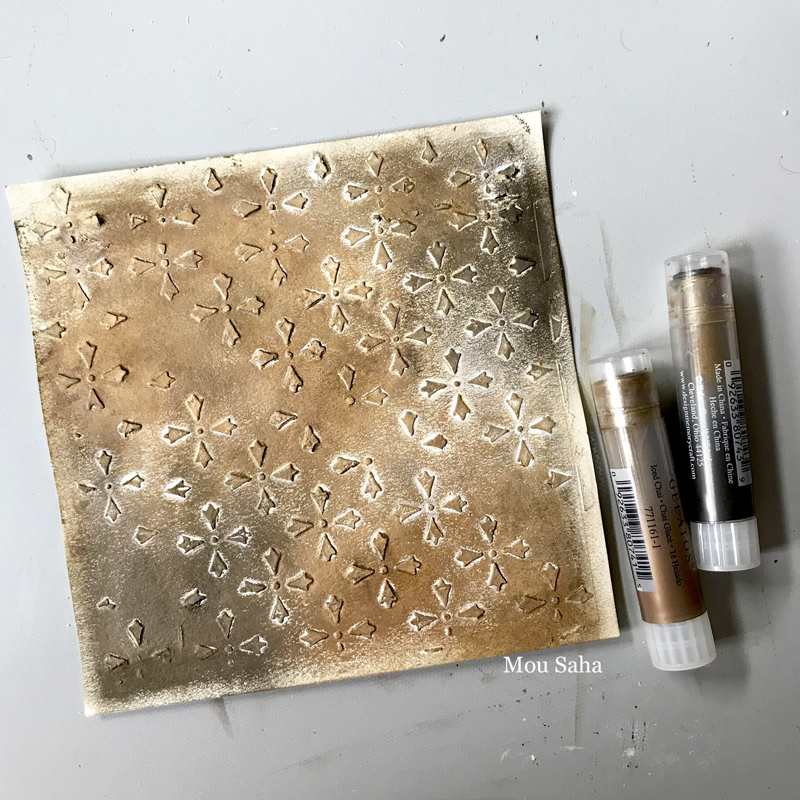
Lay your stencil down on the background piece and apply Whipped Spackle or another texture paste with palette knife.
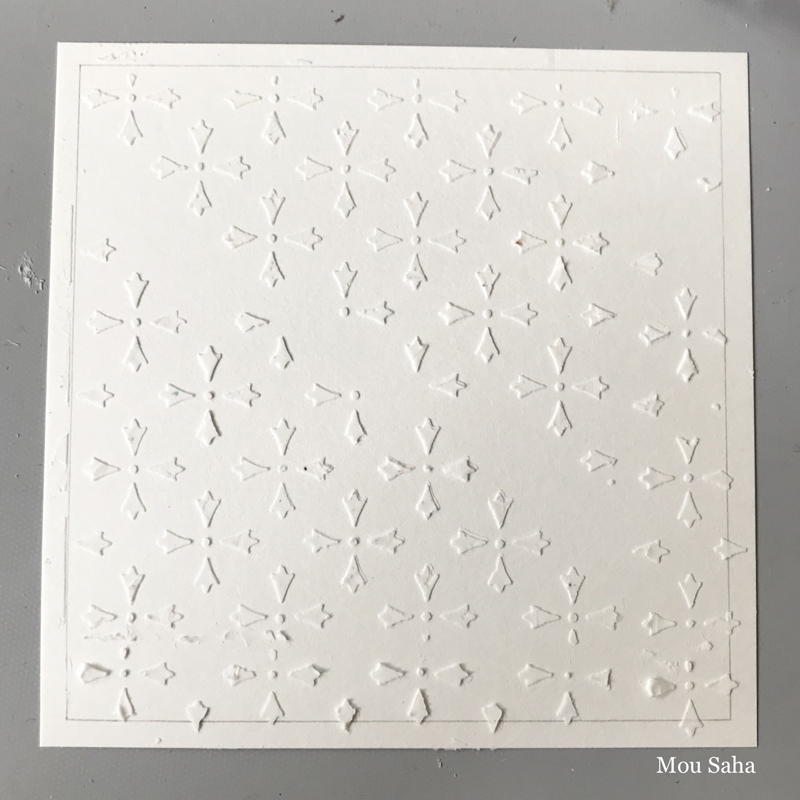
It turns out that my background piece was slightly larger than my stencil. So, I simply repeated the stencil pattern allowing the paste to dry in between.