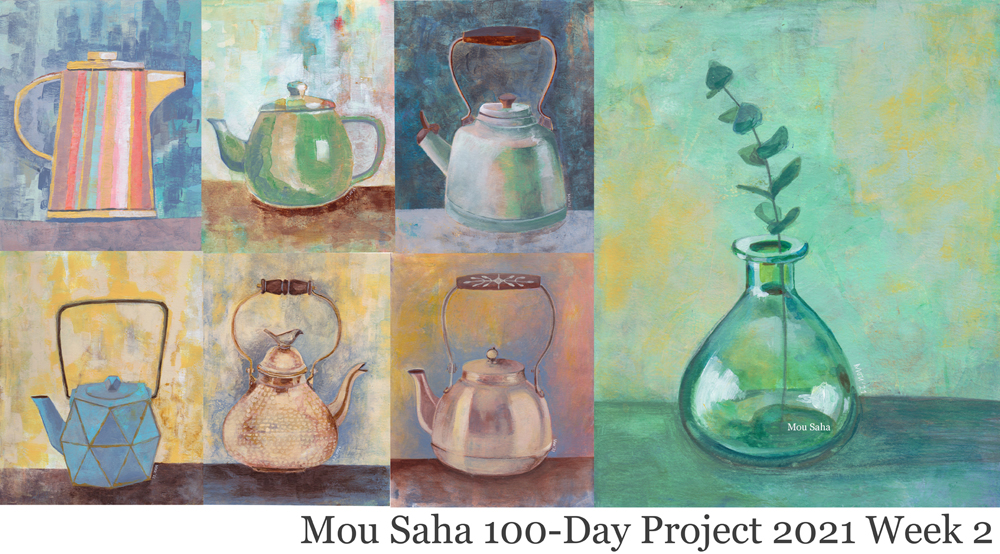
Each painting has a story, a memory imprint that led me to choose the objects that I paint. The memories are varied ranging from childhood experiences to recent shopping deliberations. It’s the stories that are leading me.

Each painting has a story, a memory imprint that led me to choose the objects that I paint. The memories are varied ranging from childhood experiences to recent shopping deliberations. It’s the stories that are leading me.
Here’s a peek into my new class Daily Observations: Drawing Objects from Life now live at Creativebug: https://bit.ly/DailyObservationswithMou
If you are new to Creativebug, you can get a FREE trial of thousands of classes: http://bit.ly/MouSaha_Creativebug
You can find my other classes here:
We are all stuck at home. Here’s one way to make the most of it.
Creativebug is offering FREE CLASSES for all kinds of crafts.
You can watch 50 More Free classes here.
How would you like UNLIMITED ACCESS to ALL THE CLASSES for TWO MONTHS? Try 2 months for free.
Approach the new normal creatively!
A nest full of eggs speaks to me of hope. Here’s a nature art tutorial for a bird nest using water soluble pigment sticks and color pencils.
I have made a complete materials list (with some affiliate links) for you.
Materials:
· Castell® 9000 Graphite Pencil Design Set – Tin of 12 – #119064
· Gelatos® Translucents – 15 Piece Set – #770176
· Goldfaber Color Pencils – Tin of 48 – #214748
· Kneadable Art Eraser – Assorted Colors – #127321
· Clic & Go Water cup – Lime green – #181570
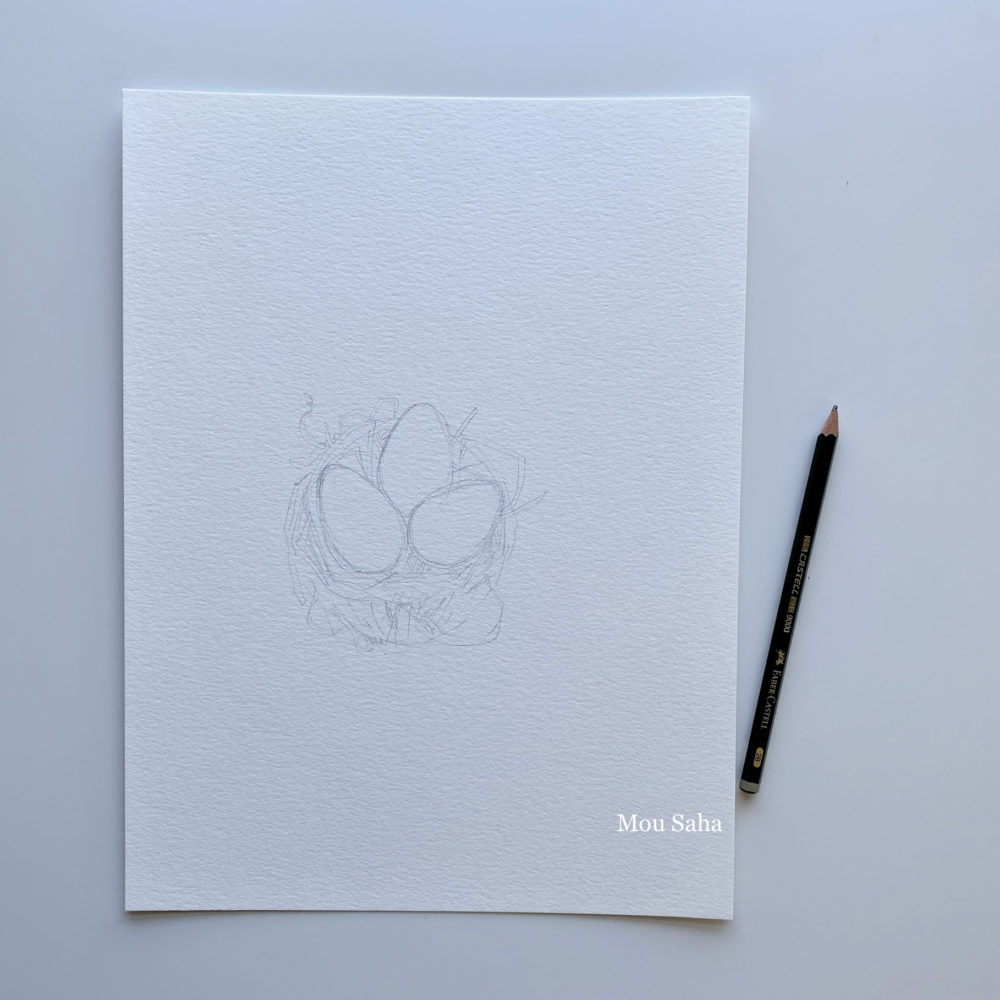
Start with a light sketch of the nest with eggs using the Castell 9000 pencil 2B on watercolor paper.
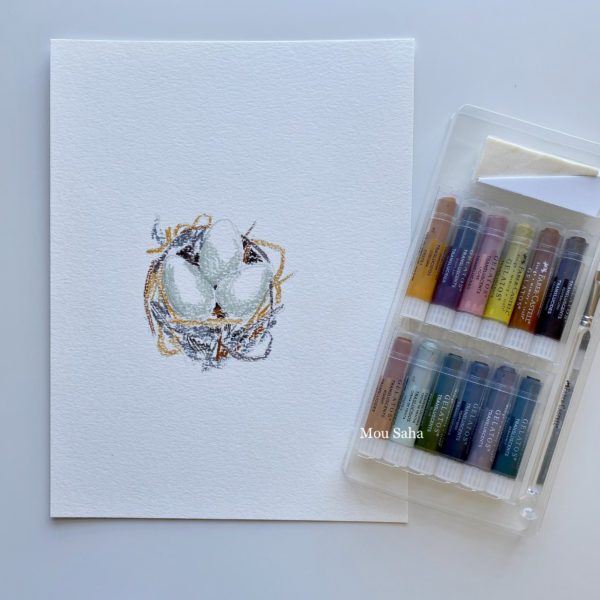
Start coloring the nest and eggs with the Translucent Gelatos colors.
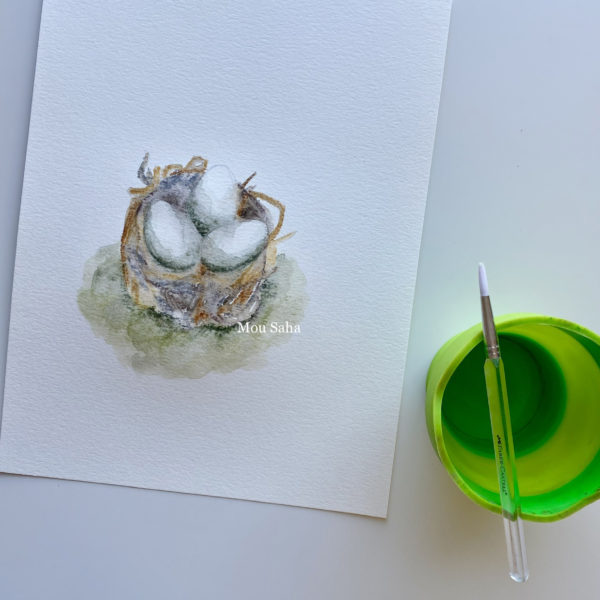
Blend the colors with paint brush dipped in water.
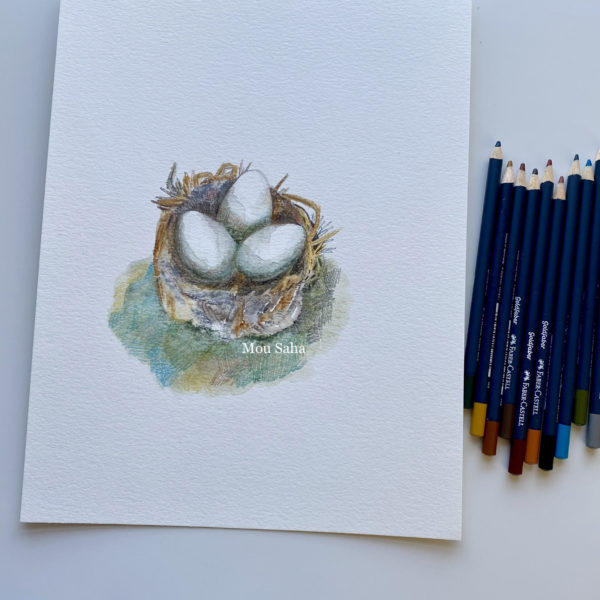
Once the colors are dry, start adding details, texture and more colors using various shades of Goldfaber Color pencils.
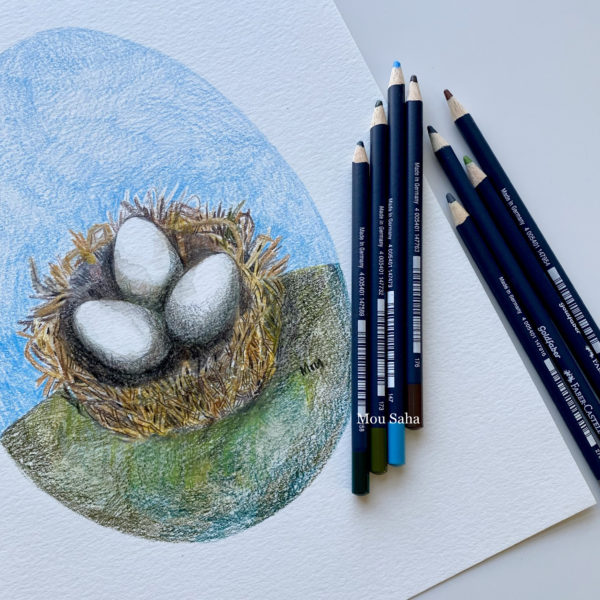
Create an egg-shaped background using the Goldfaber Color pencils to finish.
If you wish to frame your bird nest, trim the paper to 8 x 10 inches and place it in a matted picture frame as a reminder of hope.
I hope you enjoyed today’s tutorial as much as I enjoyed creating it. Stay well and stay creative!

21 Secrets has bundled its best workshops together. I had loved contributing to this bundle. Take advantage of this sale till 2/21/20.
Shop here and use code SUPERSALE at checkout to save 40%
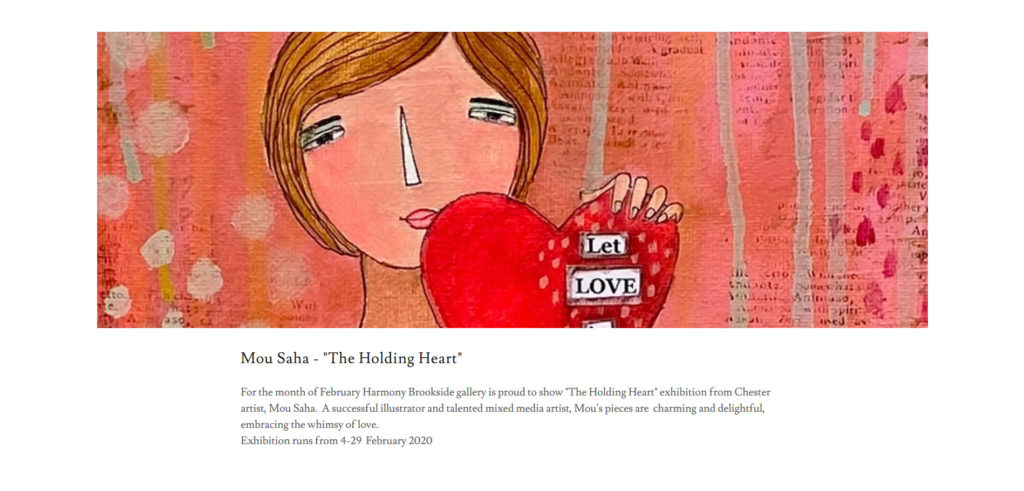
I am so delighted to share that my solo show opened in Harmony Brookside this February. If you are in the tri-state area or visiting, I hope you stop by.
This is the link to the Harmony Boutique/ Gallery: https://harmonybrookside.com/the-galleryTheir address:
2 East Main Street, Brookside, (Mendham Township), NJ 07926
(For GPS use “Brookside Community Church, 07926” From Route 24 follow signs to “Brookside Beach” – Harmony Brookside is at the bottom of Cherry Lane. RIGHT NEXT DOOR TO BROOKSIDE POST OFFICE)Hours: Tuesday – Saturday, 10:30 am -5 pm
